Factory-direct since 2006 · CE · GS · TÜV · ISO 9001 · Exporting to 130+ countries
Choosing Wheel Balance Weights in 2026 is not just a matter of picking the cheapest strip or clip. The right weight depends on the wheel’s material, shape, and approved fitment. A steel wheel may accept a clip-on weight, while many alloy wheels need an adhesive type placed inside the rim. Check the vehicle and wheel manufacturer’s guidance before deciding. Small details matter.
A good choice also needs to suit the balancing equipment and the conditions the vehicle will face. Road salt, frequent washing, and temperature changes can challenge a weight’s coating or adhesive. Ask whether the product is intended for your wheel and whether its surface is clean and dry before installation. Even a well-made weight can fail to stay put if preparation is rushed. Fit matters.
This guide explains how to compare Wheel Balance Weights by attachment style, material, corrosion protection, and compatibility. It also covers what to inspect after installation, including clearance from brake parts and signs of movement. A balanced wheel should reduce vibration, but weights cannot correct every cause of vibration. Tire damage, uneven wear, or a bent rim may need separate attention. A tidy installation is helpful, but it is not proof of a correct balance. When symptoms persist, have a qualified tire professional recheck the assembly with suitable equipment. Choices can look simple on a product page; the wheel in front of you is the real test.
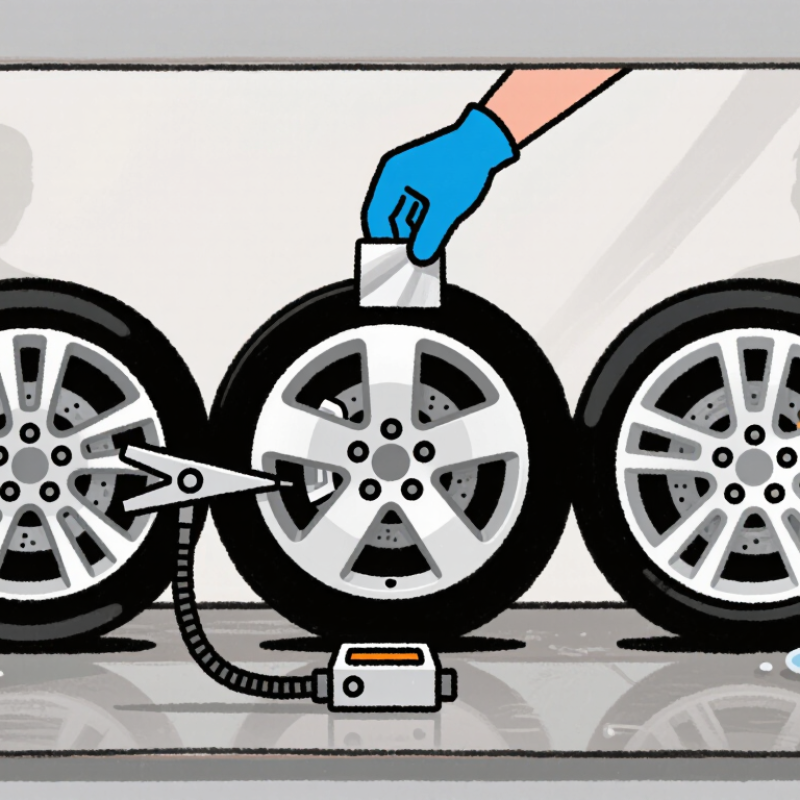
Wheel balance weights correct uneven mass around a tire and wheel assembly. A balancing machine identifies where weight is needed and how much to add. Without correction, an imbalance can cause steering-wheel vibration, uneven tire wear, or a noticeable shake at highway speeds. The weights are small. Their effect is not.
Placement matters as much as weight. Dynamic balancing checks both the inner and outer sides of the assembly, while static balancing focuses on a single plane. A technician uses the machine’s readings to choose the amount and position. Guessing from appearance is unreliable; a few grams in the wrong spot can leave vibration behind.
The wheel design helps determine the weight style. Clip-on weights attach to a suitable rim flange, while adhesive weights stick to a clean inner surface. Some finishes can be scratched by an unsuitable clip, and dirt or brake dust can weaken adhesive. Ask which option fits the rim, and check that the surface is prepared before installation. Rebalancing after a tire change or repair is sensible, though I have seen people overlook it when the car feels fine at low speeds. Vibration may only become obvious later.
How to Choose Wheel Balance Weights in 2026?
Comparing Clip-On and Adhesive Weight Types
Clip-on and adhesive weights both correct wheel imbalance, but they suit different rim designs. Clip-on weights attach to the rim flange, where a shaped clip holds them in place. They are quick to fit and easy to inspect. However, the clip must match the flange profile. A poor fit can scratch the finish or loosen during driving.
Adhesive weights sit inside the wheel barrel, often behind a spoke. They work well when a visible clip would spoil the appearance or when the rim has no suitable flange. The mounting surface must be clean, dry, and warm enough for the adhesive to bond. Brake dust, road grime, or old tape can weaken that bond. Preparation matters more than it looks.
There is no universal winner. Check the wheel maker’s guidance and the weight’s intended rim type before installation. A technician should also confirm the balance on a calibrated machine, then place weights where the readings specify. I used to think the choice was mostly about appearance; that was too simple. Corrosion, cleaning habits, temperature, and driving conditions can all affect the result. Small details count.
Wheel weights must fit both the rim’s shape and its surface. A clip-on weight designed for a steel wheel may not seat securely on a thin alloy flange. Check the rim-edge profile, spoke clearance, and barrel space before choosing a style. The wrong clip can loosen, mark a finish, or interfere with nearby brake parts. Small differences matter. If the wheel has no safe flange for a clip, an adhesive weight may be the better option.
Adhesive weights need a clean, dry mounting area on the inner barrel. Confirm that the coating allows adhesion, and avoid placing weights over dirt, wax, loose paint, or corrosion. Some wheels have limited flat space, so measure clearance through a full rotation. Material compatibility matters too: use weights intended for the wheel and applicable service requirements, and follow the wheel maker’s guidance. I would not guess here. A quick fit check can reveal a conflict, but it cannot replace correct balancing on calibrated equipment. Recheck the bond after installation; hurried surface preparation is easy to miss.
The right wheel balance weight depends on the rim, vehicle, and balancing method—not appearance alone. Steel weights suit many steel wheels and resist corrosion when properly coated. Zinc is another durable option; aluminum weights may be suitable for specific applications where the wheel and equipment allow them. Check the wheel maker’s guidance and match the weight profile to the rim. For many alloy wheels, adhesive weights sit behind the spokes and avoid contact with the outer lip. Clip-on weights need the correct shape and a secure fit. Small details matter.
Let the balancing machine determine the required amount. Its reading is more reliable than estimating by eye, and the result should specify both weight and placement. Clean and dry the mounting area before applying adhesive weights; even a thin film of dust can weaken the bond. Use the amount indicated, rather than adding extra “just in case.” Too much weight can mask a problem instead of correcting it. If the reading seems unusually high, inspect the tire and wheel for damage or poor seating, then rebalance. This choice is not always tidy: small changes in tire position can alter the reading, so a second check is worthwhile.
Choose a weight that is compatible with the wheel and the balancing method. The wheel balancer’s readings—not wheel size alone—determine the amount and placement required.
| Decision factor | Options or reference | Practical guidance | Important checks |
|---|---|---|---|
| Weight material | Steel, zinc alloy, or lead where permitted | Steel and zinc are common alternatives to lead. Material density affects the size of a weight for a given mass; approximate pure-material densities are 7.85 g/cm³ for steel, 7.14 g/cm³ for zinc, and 11.34 g/cm³ for lead. | Finished products may use alloys or coatings, so actual shape and dimensions vary. Check local rules and the weight manufacturer’s material specifications. |
| Clip-on or adhesive | Clip-on weights; adhesive-backed weights | Use clip-on weights only where the wheel profile supports the correct clip. Adhesive weights attach to a clean, dry surface on the inner barrel or other approved location. | Match the clip profile to the rim flange. For adhesive weights, follow the wheel and weight instructions and avoid areas that interfere with brakes, sensors, or other components. |
| Wheel construction | Steel wheel; alloy wheel; specialty or coated wheel | Select a weight and attachment method approved for the wheel’s material and finish. Adhesive weights are often selected when a clip could contact or mark a visible alloy-wheel surface. | Do not assume one weight style fits every wheel. Confirm fit, clearance, and finish compatibility before installation. |
| Required amount | Use the inner and outer correction values shown by the balancer | Enter the correct wheel dimensions and balancing mode, then use the machine’s indicated mass and placement. If the machine calls for split placement, divide the correction as directed. | There is no dependable universal amount based only on wheel diameter, tire size, or vehicle type. Recheck the assembly after installing the weights. |
| Common unit conversions | 0.25 oz ≈ 7.1 g; 0.50 oz ≈ 14.2 g; 1.00 oz ≈ 28.35 g; 2.00 oz ≈ 56.70 g | Use these conversions when the balancer and available weights use different units. Product increments and segment sizes vary. | Follow the balancer’s display and the product’s stated mass; do not treat these examples as a recommended correction for a particular wheel. |
| Adhesive surface preparation | Clean, dry, temperature-appropriate mounting surface | Remove dirt, grease, moisture, and residue using a method compatible with the wheel finish. Press the weight firmly into place as directed by its instructions. | Do not install over loose paint, corrosion, or contamination. Observe any specified surface-temperature and curing requirements. |
| Final verification | Re-spin the wheel after installation | Confirm that the balancer reports an acceptable result and that every weight is secure. Correct any remaining imbalance using the displayed instructions. | Check that weights do not contact brake parts, suspension components, or other wheel-area hardware during rotation. |
Before driving, verify the wheel, tire, and weights as one assembly. Set tire pressure to the vehicle placard before balancing; incorrect pressure can complicate vibration checks. The U.S. Department of Energy’s FuelEconomy.gov estimates that proper inflation can improve fuel economy by up to 3%. That figure is not a wheel-balance test, but it shows why basic tire checks matter. Small details matter.
Match clip-on weights to the wheel’s flange profile; a loose fit can shift during use. For adhesive weights, clean and dry the mounting surface, then press the strip firmly into place. Check that weights clear brake components and do not interfere with the wheel or caliper. I would recheck this clearance after mounting, even when the fit looks obvious. It is easy to rush this step.
Spin the assembly again and confirm the machine shows no meaningful residual imbalance in either plane. Follow the vehicle maker’s torque specification, using a calibrated torque wrench rather than an impact tool for final tightening. Then take a cautious drive and note any steering-wheel shake or seat vibration at normal road speeds. If vibration remains, stop and inspect wheel centering, weight security, tire condition, and mounting surfaces. A balance reading alone cannot confirm correct fitment.
They correct uneven mass around a tire and wheel assembly. Even a few grams can matter.
Steering-wheel vibration, uneven tire wear, or shaking at highway speeds can be signs. Low-speed driving may hide it.
A balancing machine measures the assembly and indicates both. Guessing by appearance is unreliable.
Dynamic balancing checks the inner and outer sides. Static balancing checks one plane. Details matter.
They fit compatible rim flanges and are quick to inspect. A mismatched clip can scratch the finish or loosen.
They suit wheels without a suitable flange or when visible clips are unwanted. The inner barrel is a common spot.
Clean and dry the surface, remove old tape and brake dust, and ensure it is warm enough. I used to underestimate this.
After a tire change or repair, rebalancing is sensible. A car can feel fine at low speeds, but vibration may appear later.
Choosing the right Wheel Balance Weights helps reduce vibration and supports a smoother, more comfortable ride. Before selecting weights, consider how they counteract uneven weight distribution in a wheel and compare the two common styles: clip-on weights, which attach to the rim edge, and adhesive weights, which stick to a clean inner surface. The best option depends on the wheel’s shape and the space available for secure placement.
Check that the weight style and material are compatible with the wheel’s design and finish. Then use the amount recommended by a proper balancing measurement rather than guessing; too little or too much can leave the wheel unbalanced. Before driving, confirm that each weight is firmly attached or clipped in place, clear of nearby components, and positioned as intended. A final balance check helps verify the fitment and reduce the chance of weights shifting during normal use.