Choosing the right Wheel Weights can make the difference between a smooth ride and a steering wheel that trembles at highway speed. The correct choice depends on the wheel’s material, shape, and balance requirements—not just the vehicle model. A steel rim may accept a clip-on weight designed for its flange, while an alloy wheel often needs a compatible adhesive weight. Fit matters. A poorly matched clip can damage a rim, and a misplaced adhesive strip may interfere with brake components.
Before selecting a weight, check the wheel and vehicle manufacturer’s specifications, then confirm the required amount and placement with a properly calibrated balancing machine. For adhesive weights, the mounting area should be clean, dry, and free of old tape or road grime. For clip-on styles, the clip must match the rim profile securely. Small details count. The wrong shape can loosen, even when its weight seems correct.
There is no single best option for every wheel. Road conditions, previous repairs, and wheel design can all affect the result. I would not rely on appearance alone; that can be misleading. A qualified tire professional can verify fitment and balance, especially when a wheel has unusual contours or persistent vibration. This guide explains the main weight types, how to compare them, and what to check before installation—while recognizing that real wheels do not always behave exactly as expected.
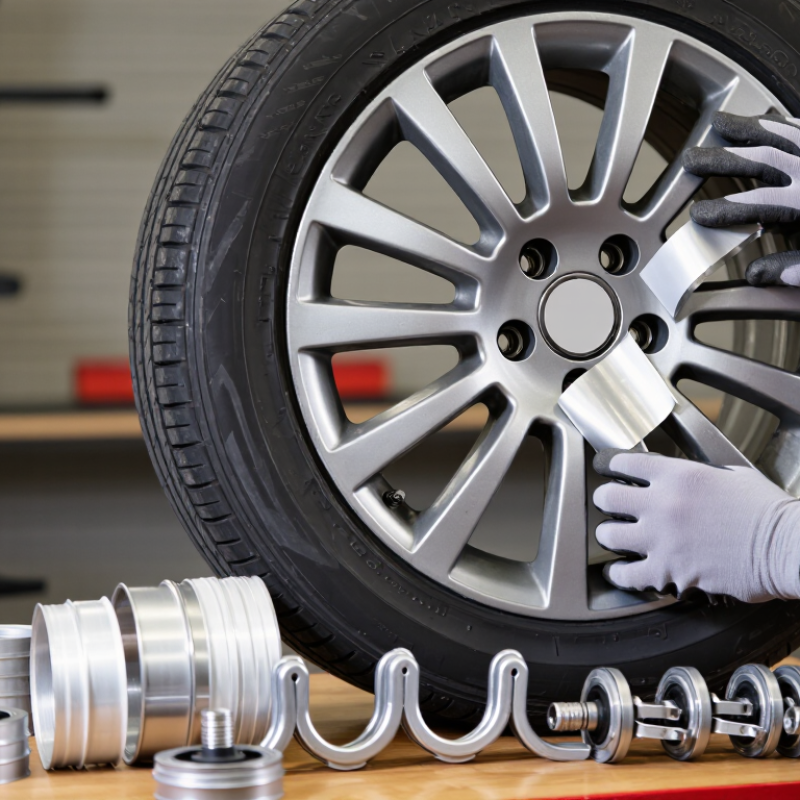
Understand the Purpose and Types of Wheel Weights
Wheel weights correct uneven mass around a wheel-and-tire assembly. Without correction, the assembly can vibrate as it spins, especially at road speed. A balancing machine measures this imbalance and indicates how much correction each side needs. Static balancing addresses vertical hop; dynamic balancing also corrects side-to-side wobble. The distinction matters. ISO 21940-11:2016 lists G 6.3 mm/s as a balance-quality grade for rigid rotors. It is not a passenger-wheel shop tolerance, but it illustrates how balancing specifications account for rotational speed.
The two common weight styles are clip-on and adhesive. Clip-on weights attach to a compatible rim flange; the profile must fit securely without damaging the wheel. Adhesive weights stick inside the wheel barrel, often behind a spoke, for a cleaner exterior. They need a clean, dry surface and careful placement. Some weights use steel or zinc, so material and shape should suit the wheel and service conditions. A technician should follow the balancer’s readings, not guess from appearance. Small errors can still be felt.
One detail is easy to miss: a weight that fits one rim profile may not fit another. Ask the shop to check the wheel type and confirm the final balance reading. It’s worth checking twice.
How to Choose the Right Wheel Weights? — Understand the Purpose and Types of Wheel Weights
Wheel weights correct mass imbalances identified during wheel balancing. The right choice depends on the wheel design, the vehicle or equipment, the required correction, and the weight’s approved mounting position.
| Weight Type | How It Attaches | Common Applications | Advantages | Things to Check |
|---|---|---|---|---|
| Clip-on weight | A shaped clip grips the wheel flange. | Steel wheels and compatible alloy wheels; the correct clip profile depends on the rim flange. | Quick to install and remove; suitable for many conventional wheel designs. | Match the clip to the wheel material and flange shape. An incorrect clip can loosen, damage the finish, or fail to seat securely. |
| Adhesive, or stick-on, weight | Adhesive-backed segments attach to a clean inner wheel surface. | Many alloy wheels, especially where a visible clip-on weight is undesirable or the wheel has no suitable flange. | Can be positioned on a flat inner surface and is less visible from outside the wheel. | Clean and dry the mounting area, follow the wheel and adhesive instructions, and avoid interference with brake components. |
| Coated clip-on weight | A protective coating covers a clip-on weight that grips the rim flange. | Compatible wheels where reducing direct contact between the weight and wheel finish is important. | The coating can help protect the contact area from scratching and corrosion. | Coating does not make an incompatible clip suitable. Select the correct profile and install it securely. |
| Coated adhesive weight | Coated segments attach with adhesive to the inner wheel surface. | Wheels requiring adhesive correction where finish protection is a consideration. | Combines a low-profile placement with a protective outer covering. | Adhesion depends on surface preparation, temperature, and the product’s installation instructions. |
| Selection Factor | How to Decide | Practical Guidance |
|---|---|---|
| Wheel construction and profile | Identify whether the wheel is steel or alloy and inspect its flange and inner surfaces. | Use a clip-on style only when its clip is designed for that wheel. Use adhesive weights only on a suitable, clean mounting surface. |
| Required correction | Read the correction values and placement instructions from a wheel-balancing machine. | Do not estimate the amount or location by appearance; the machine determines the correction needed for that wheel assembly. |
| Weight material and local rules | Check vehicle requirements and regulations where the wheel will be used. | Steel and zinc are common alternatives to lead. Lead-wheel-weight restrictions vary by jurisdiction, so verify applicable rules before use. |
| Weight increments | Choose increments compatible with the balancing equipment and the required correction. | Common products are available in metric increments such as 5 g, while some systems use imperial increments such as 0.25 oz. These are not identical amounts: 0.25 oz is approximately 7.1 g. |
| Clearance and appearance | Check clearance from brake parts and whether a weight would be visible on the wheel. | Confirm the installed weight cannot contact moving components. Follow wheel-maker guidance for placement and finish protection. |
Purpose: Correctly placed wheel weights help reduce imbalance-related vibration and uneven tire loading. Final selection and placement should follow the balancing-machine readings, wheel specifications, and applicable safety instructions.
FAQS
Check the rim edge and inner surface. Steel wheels often have a flange for clip-on weights. Alloy wheels may have a flat inner barrel for adhesive weights. Looks can mislead.
Clip-on weights must match the rim flange. Adhesive weights attach to a clean, dry inner surface. Choose based on wheel shape, clearance, and fit guidance, not material alone.
Use the reading from a balancing machine. It may specify different amounts for the inner and outer planes. For example, 15 grams and 25 grams are not interchangeable.
No. Tire and wheel combinations differ, and a visual check cannot show the full imbalance. I would double-check the machine reading if it seems unusual.
Remove dust, grease, and old adhesive. The surface should be clean and dry. Press the weights firmly into place. Cold rims can weaken the bond.
Follow the balancing machine’s placement instructions. Keep weights clear of brakes, spokes, and the tire bead. Don’t place them by eye.
They can damage the finish if forced onto an incompatible rim flange. Check the clip shape and fit before installation.
Have the wheel checked again, especially if vibration appears at certain speeds. A road test may reveal a problem. The first reading is not always the last.
Conclusion
Choosing the right Wheel Weights starts with understanding their purpose: they help correct uneven weight distribution so a wheel can rotate smoothly. Begin by identifying your wheel type and the balancing requirements of your vehicle, since these determine which weight styles and installation methods are suitable. Consider the wheel’s material and shape, as well as whether adhesive or clip-on weights offer a more appropriate fit.
Next, select a weight with the correct size and amount for the wheel, and place it where the balancing process indicates. The right position matters as much as the weight itself, so avoid guessing or relying on appearance alone. Before installation, check that the weight is compatible with the wheel, clears nearby components, and can be secured properly. Careful selection and fitment help support reliable wheel balance and smooth driving.